
How to Build a Form and Connect It to Google Sheets
Add a form to your site in the Sitelas editor, then connect Google Sheets so every submission auto-appends to a spreadsheet in your own Drive — plus where submissions land by default and how file uploads work.
Sitelas Team

A form is how your site turns visitors into leads — a contact request, a waitlist signup, a project inquiry. In Sitelas you build one in the visual editor, and you can route every submission straight into a Google Sheet you own. Here's the whole thing, start to finish.
(New to the editor? Start with How to Use the Sitelas Editor; this guide picks up from there.)
Step 1: Add a form in the editor
Open the page where you want the form and add a Form block:
- Click the + (add block) where you want it, and choose Form from the block list. A form drops onto the canvas with starter fields.
- Click any field to edit it in the settings panel — change its label, switch its type (short text, email, phone, dropdown, long text, file upload), and toggle required.
- Use + Add field for anything extra (company, budget, "how did you hear about us"), and set the submit button label.
Keep it short — name, email, and one "what do you need" field converts better than a ten-field wall. When it looks right, Publish the site so the form is live and can start collecting.
Step 2: Know where submissions land by default
Before you connect anything, every form already works. Submissions are captured and show up in your site's Submissions inbox — open your dashboard, pick the site, and click Submissions.
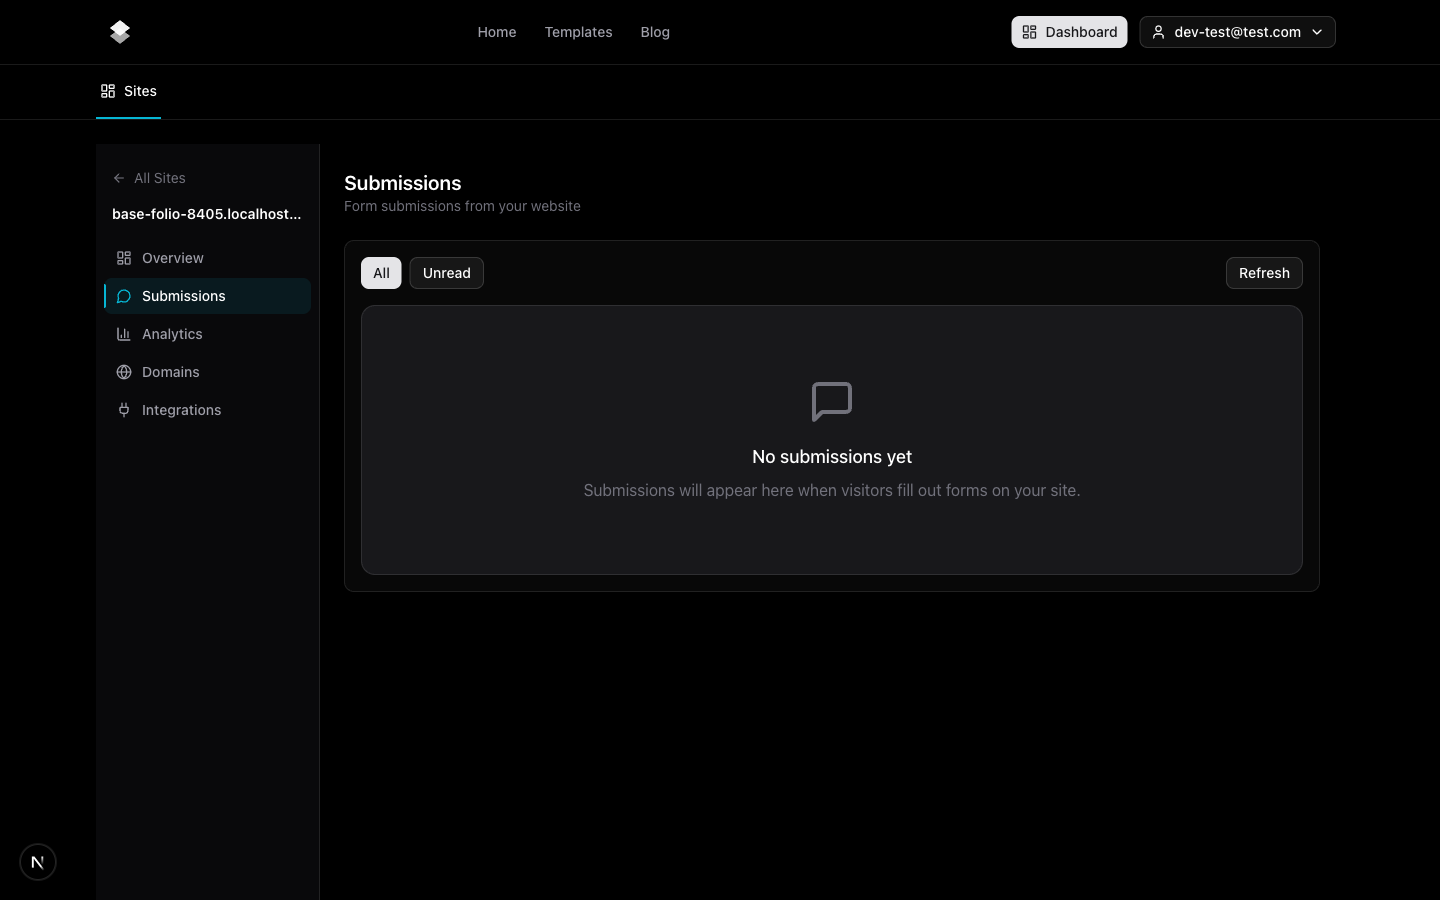
You can read entries, filter unread, and reply — no integration required. Connecting Google Sheets just adds a second destination so the data lands somewhere you can sort, chart, and share.
Step 3: Connect Google Sheets
In the dashboard, open your site and go to the Integrations tab. You'll see the Google Sheets card:
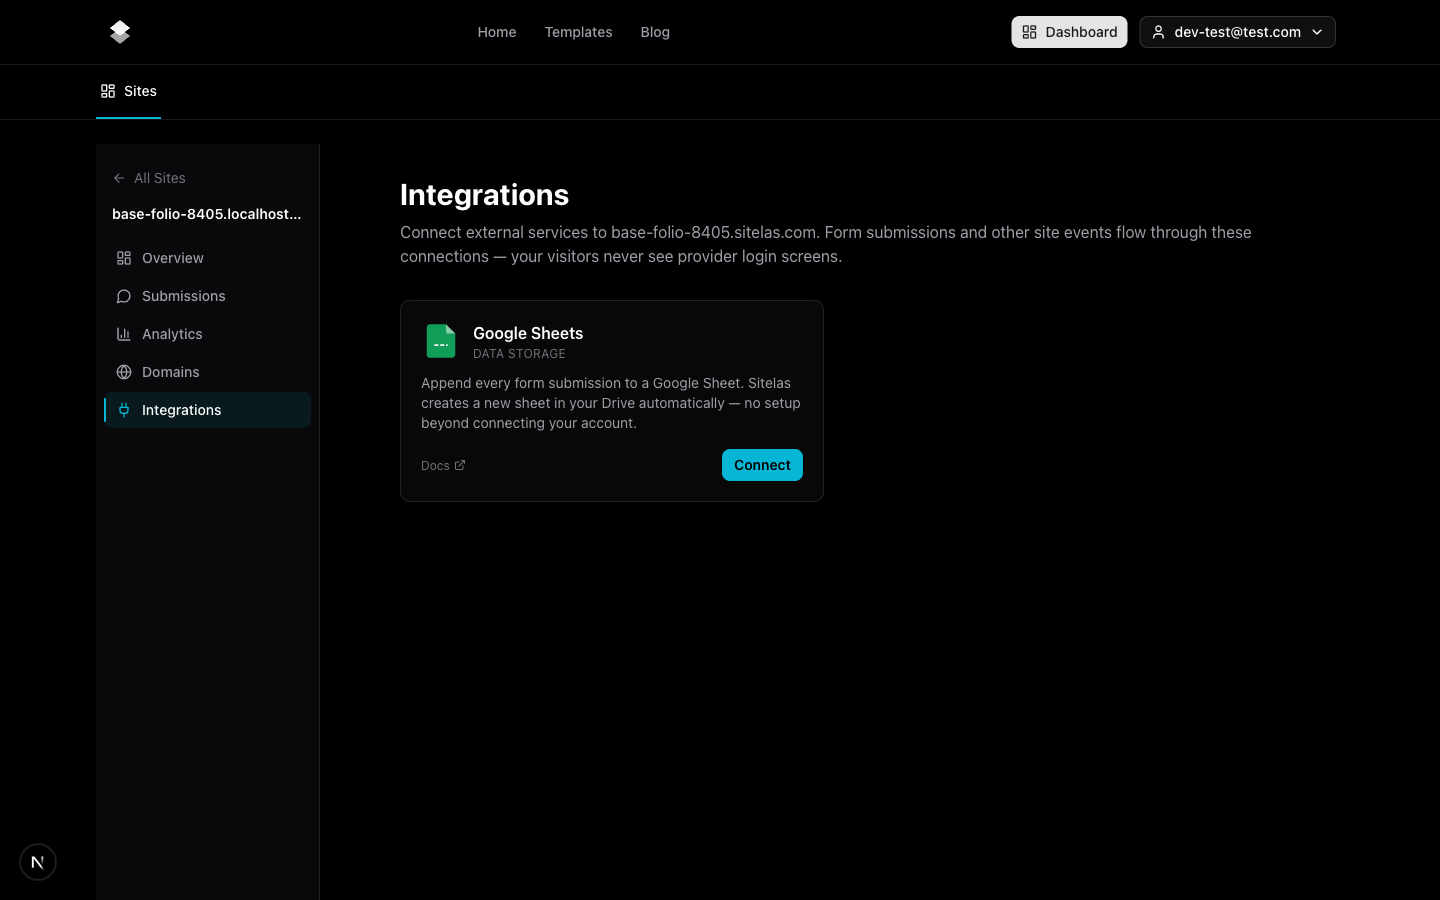
Click Connect. A Google sign-in window opens — choose your account and click Allow. The window closes itself once the connection saves (usually 10–15 seconds), and the card flips to Connected ✓.
That's the entire setup. There's nothing to configure: Sitelas creates a fresh spreadsheet in your own Google Drive and appends one row per submission from then on — timestamp, source page, and every field, with file uploads as clickable links. Your visitors never see a Google login screen; the connection is yours, server-side.
Connecting from Claude.ai instead? You ask Claude to connect Google Sheets and it hands you this same link to finish here — see it in action in I Launched a Waitlist and Ran It From One Claude Chat.
What about file uploads?
If your form has a file upload field (a resume, a brief, a logo), the file is stored in your own Google Drive, and the Google Sheet row links straight to it — so attachments live in your account, not locked inside Sitelas.
Recap
- Add a Form block in the editor and set your fields.
- Publish — the form is live and submissions land in your Submissions inbox automatically.
- Integrations → Google Sheets → Connect → one Google sign-in → every submission now also auto-appends to a Sheet in your Drive.
Try it
Open your dashboard, add a form to a page, publish, then connect Google Sheets from the Integrations tab. You can also drive the whole thing from a Claude chat — building the form, publishing, and connecting Sheets by just asking; here's how building from a chat works. Sitelas is free while we're in early access — start at sitelas.com.
Sitelas Team
The Sitelas team writes about building and operating websites through chat — the Claude.ai connector, the in-editor AI chat, form integrations, and everything that ships in the box.


